Learning to draw the right proportions makes all the difference in the world and when you have done your basic fashion croquis, you are ready to make different fashion figure templates that will help you draw clothes faster and with ease.
Basic Fashion Figure Templates
When you have your basic frontal fashion figure set up, then it is time to sketch other fashion poses and different views.
You can start with a back view croquis which is very useful to have on hand when you want to show your designs or illustrate clothing that has interesting back detail. After that it is also good to have some side view croquis as you will probably have some dresses with long tail or hi-lo hem that is best illustrated in this pose. When you have these two croquis ready, then it is time to have fun and work on different types of fashion figures that will compliment your design work or make a base for beautiful illustrations.
Fashion Figure Back View
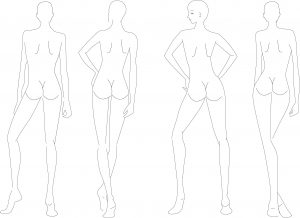
The back view can be used if you have a beautiful piece of lacing on a dress or an embellishment that makes the garment special. The overall proportions of the back view are the same as front view just showing different body parts.
You can use the measurement and axis line from the previous post and just start sketching the backside of the body.

From the back view, the neck appears to look shorter as it sinks into the shoulder line. You will have shoulder blades showing with closest part at 2 heads point. They should be about 1/2 head apart on either side of the axis line at the narrowest point. The waist is at 3 and the hips are at 4, same as in the front view.
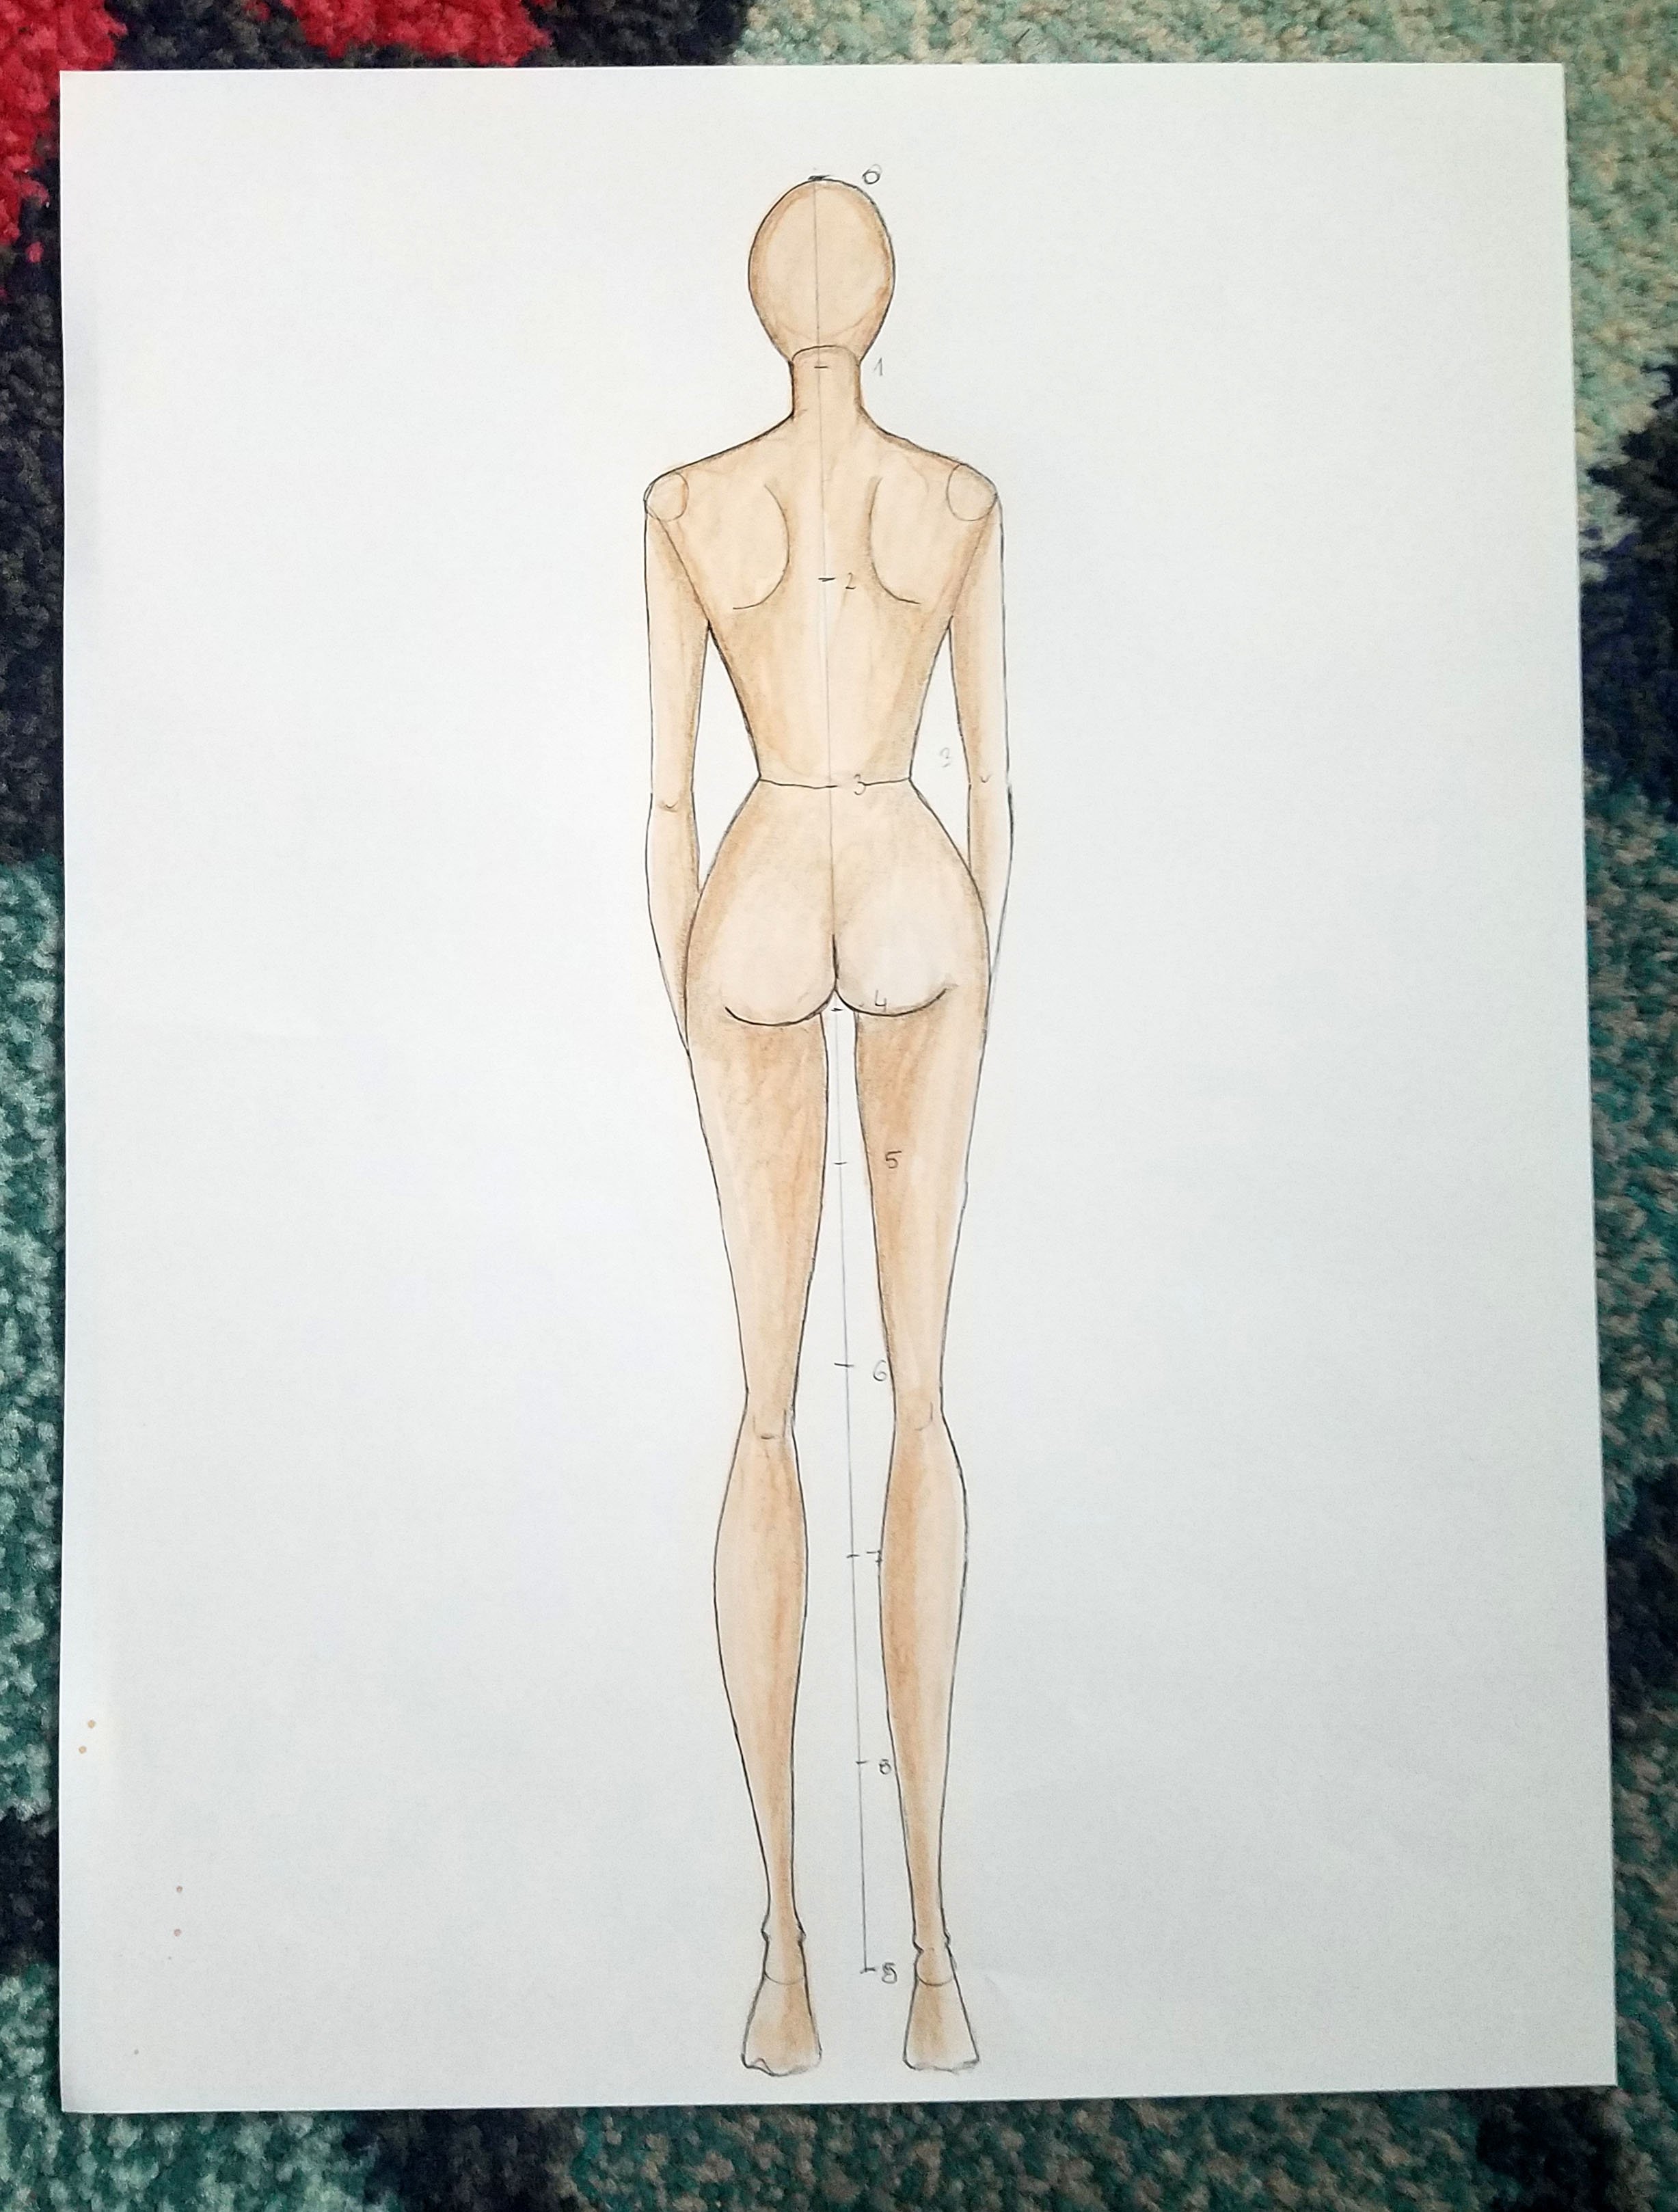
The bottom is at 4 and has rounded cheeks. The rest of the figure is same as the front except we see the backs of elbows and knees.
Fashion Figure Side View
When you want to show a side seam or garments that are fitted at waist and hips, then it is great to have a side view croquis on hand. Side view is not symmetrical so there is no use in axis line but rather a balance line which shows how the weight of the body is supported. For the upright figure with legs together, balance line goes from top of the head and passes between the feet. If you have a fashion pose where the weight is on that leg, then the balance line passes through that leg.
Side view of the head looks like an oval in a diagonal position.The neck starts at the base of the skull on the back and the front of the neck starts above the lowest point of the jaw.
From the side view, torso is tipped forward a bit and the balance line goes trough the shoulder and the back of the waist.
The lower torso follows the curve of the backside and creates a curve in the spine.
Balance line goes through the thighs and to the back of the knee. The lower part of the leg then curves back behind the balance line.
The feet are usually drawn with the heel raised as though the model is wearing high heels.
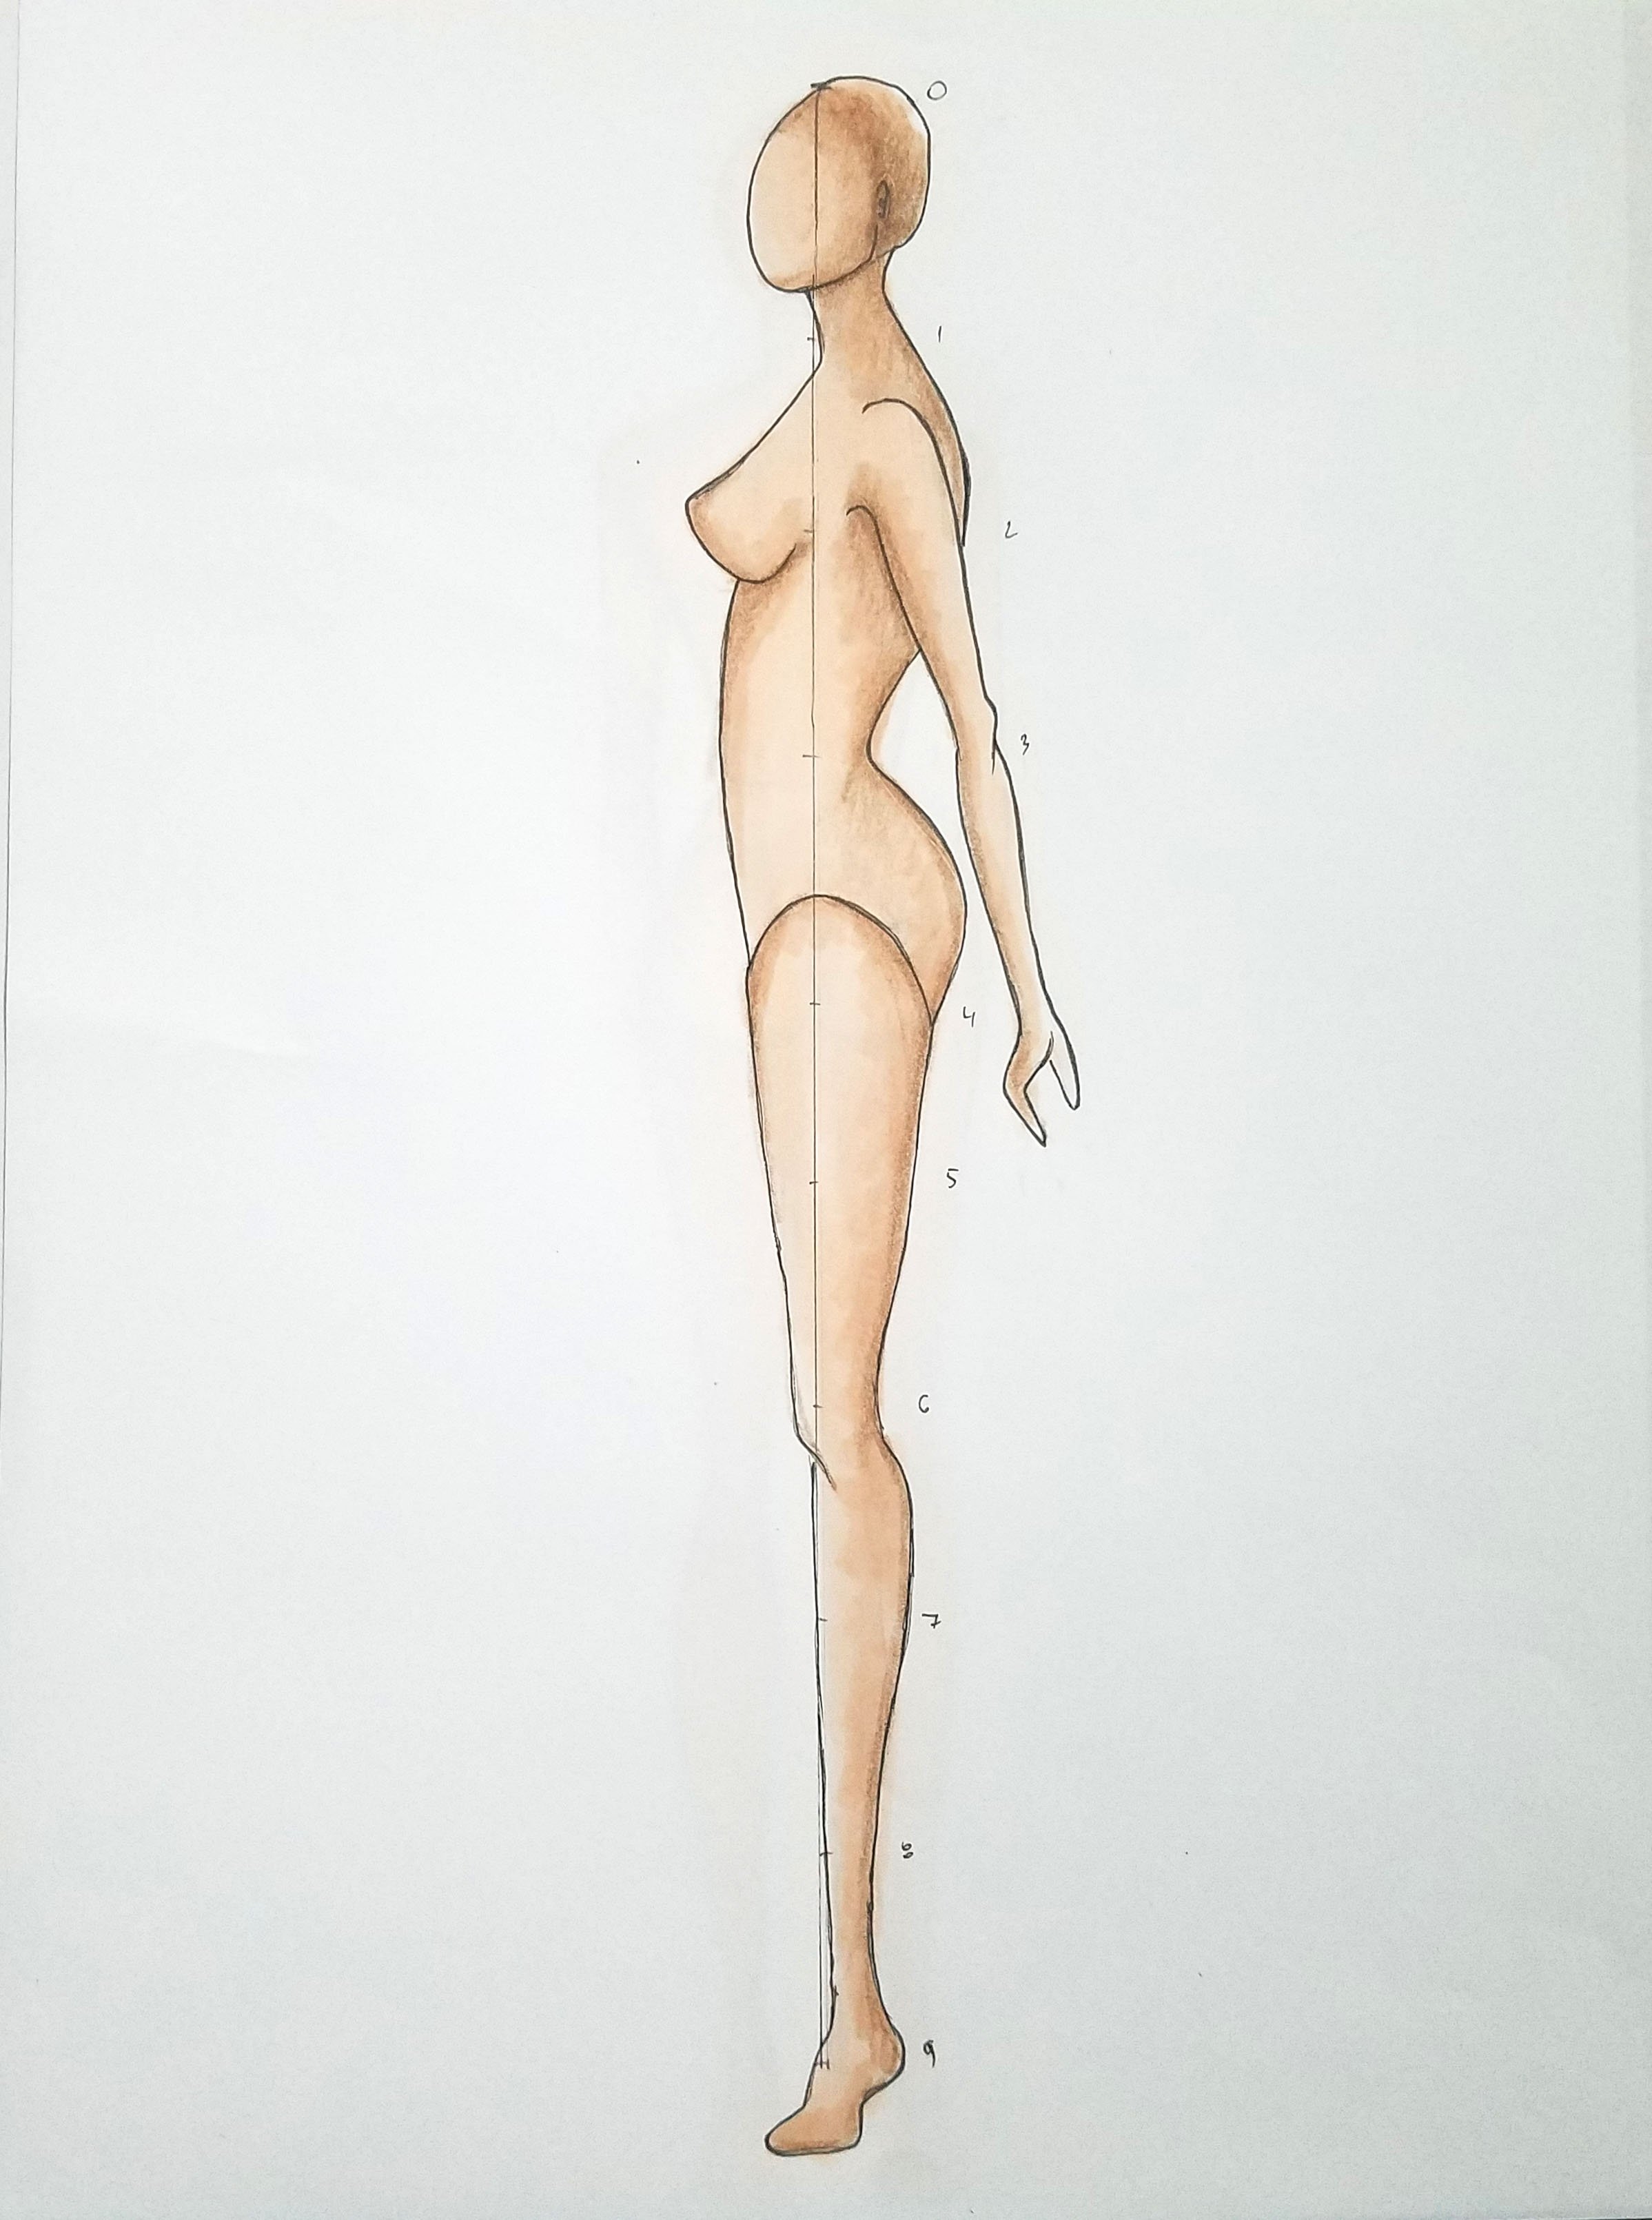
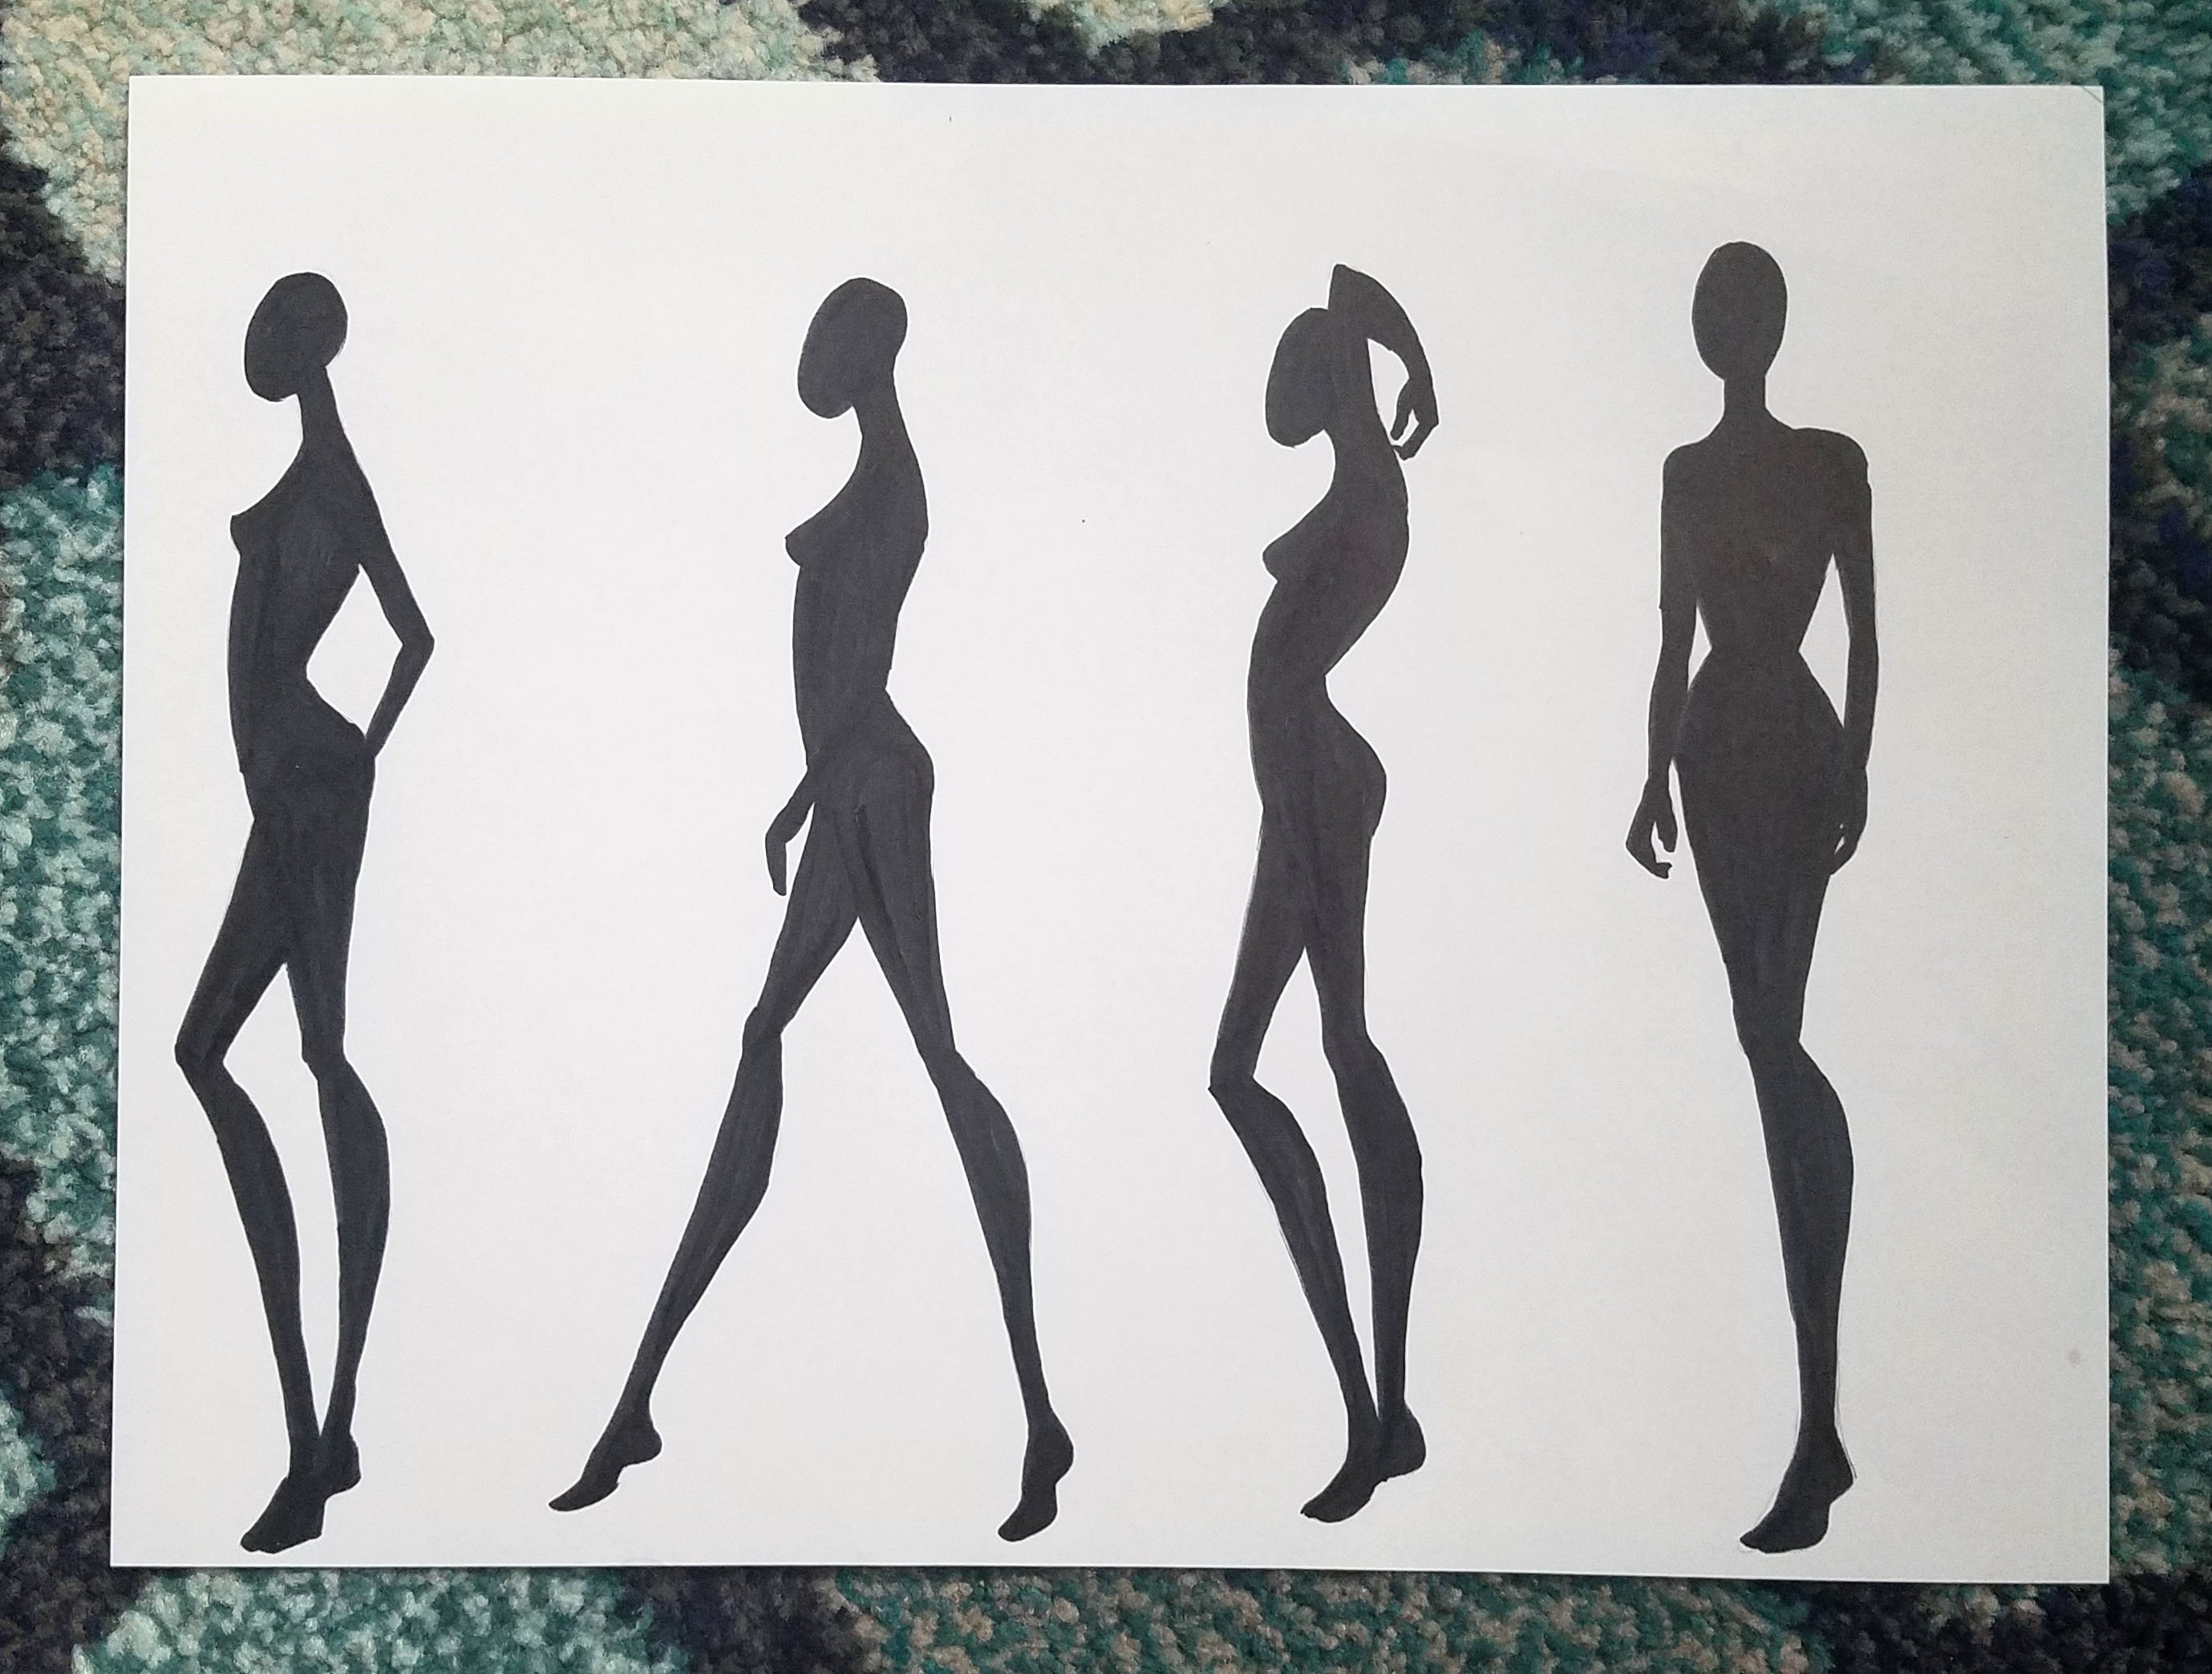
When you have your side view with legs together, then you can try drawing different variations of the side view such as with one leg in front of the other, arms raised or a walking-like pose.
Other Useful Fashion Poses
Besides the back and side view, it is also good to sketch a 3/4 view with one hand on the hip which is often used in fashion illustration. There are many other variations of these basic fashion poses and you can play as much as you like with different arm and leg positions and look for an inspiration in fashion photography and magazine editorials.
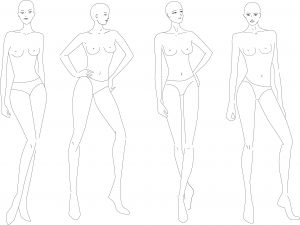
Here are some free templates that you can download and practice your runway or collection illustrations.

Thank you for this! It’s very helpful